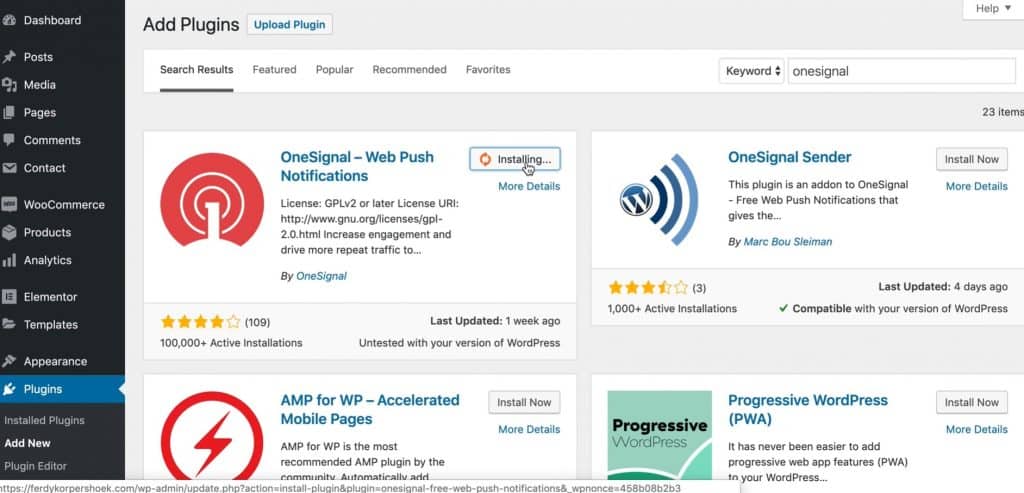
In this text, you will see how you can send notifications on a WordPress site, using a plugin OneSignal. The first thing you need to do is to install and activate the OneSignal plugin in your site's control panel.

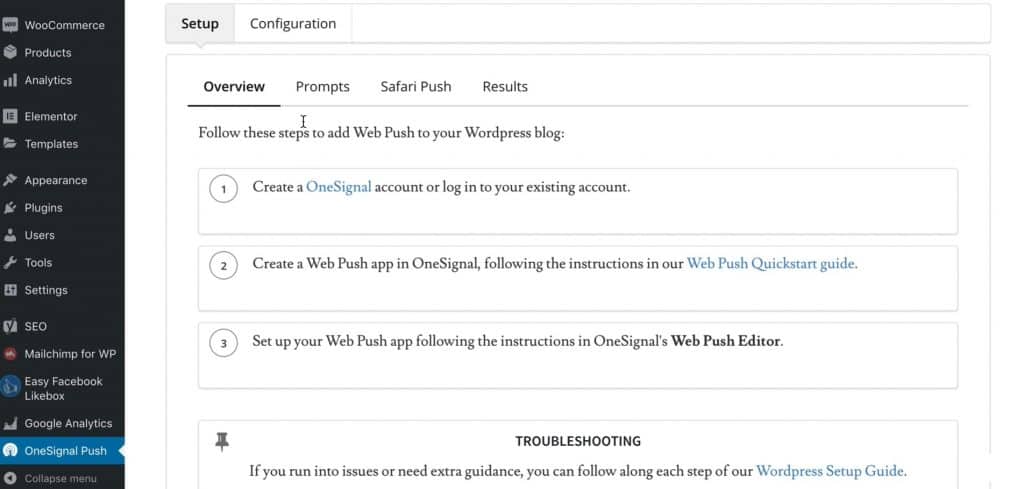
Once you've done that, you need to find the section OneSignal Push, click on it and start setting up the plugin. In the picture below you will see which steps need to be taken.

To begin, we will go to the OneSignal site, where we will create an account. You can sign up using GitHub, Google, Facebook, or email.

After you have created an account, you need to confirm it by clicking on the link in the email. After that, you log in to your OneSignal account and to start we will create a new application by clicking on Add App button and give it a name, e.g. site where we will place the application. After that, you choose the platform within which you create notifications and we choose Web Push. The next thing we choose is how we will integrate the notifications, since we are using WordPress and we have already installed the plugin, it is necessary to choose WordPress Plugin or Website Builder option.

Once we've done that, we select WordPress as the Website Builder and set the site name as well as the site URL. We can also set the icon, that is, the image that will stand next to the notification, under the field Default Icon URL. Then we copy App ID and API Key which is displayed on the screen and in the control panel under the section OneSignal Push in the section Configuration paste the codes on the same fields.

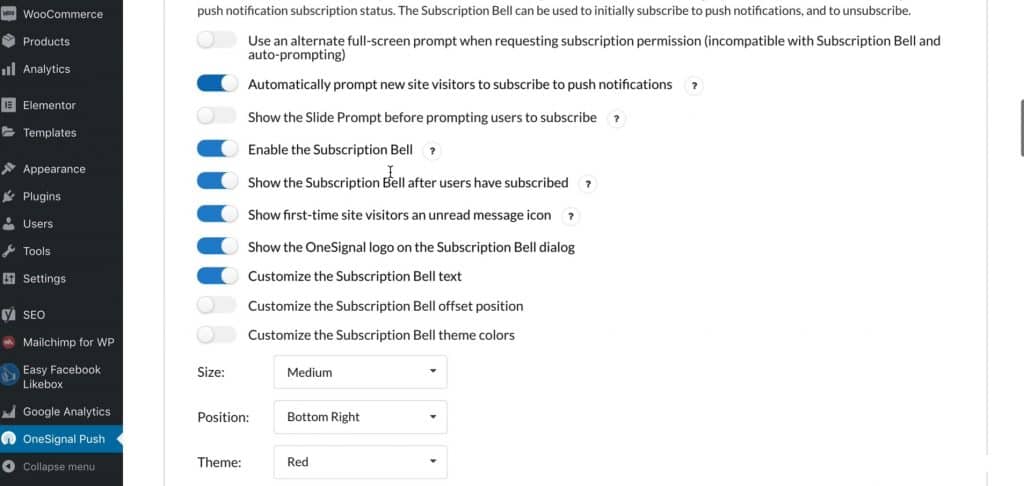
Once we have done that, we click on the button Finish. The next thing that needs to be done is the setup in the WordPress dashboard. We are adjusting how the notifications will look. Are we going to use a separate image for the icon, are we going to hide the notifications after a few seconds, how will the notification read, do we want to send special notifications to iOS and Android platforms and many other options.


When you have set everything that was offered, you need to click Sava. In order to test how the notification will look like, it is necessary to create a new article. Go to the control panel section Posts, click on Add New and create a new article. When you're done creating, you need to uncheck the checkbox located in the upper right corner of the image below.

After you have done that, every person who has subscribed to your site will receive a notification as soon as you publish a new article, regardless of what they are doing on their computer, as long as they are connected to the Internet. On Google Chrome, that notification would look like the image below.

You can send people messages within your OneSignal account, e.g. thanks for subscribing, you can see how many people have subscribed, how many people are monthly active on the site, and the like.
Source: youtube


