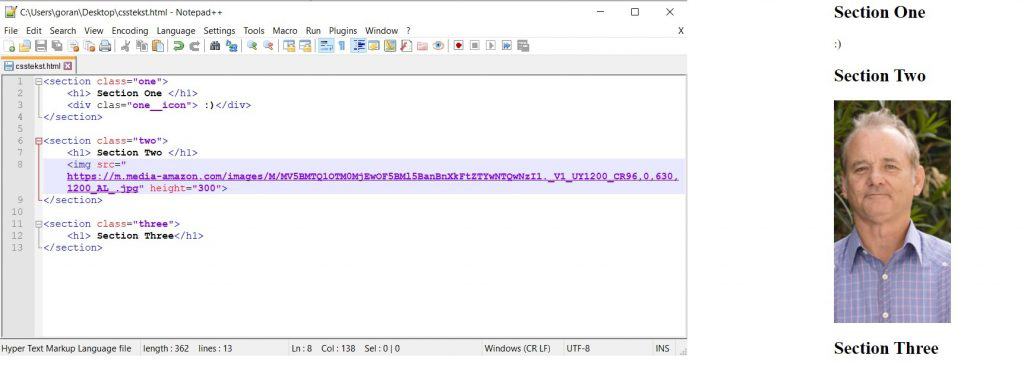
In this text, you will learn how you can create shapes using CSS code, after you have typed and created something in HTML code. The first thing that needs to be done is to type some HTML code in a text editor, so that later with the help of CSS code we can style it and create shapes. You can see the code we typed in the following image, as well as what the web page of the typed code looks like.

On the left side of the image is the HTML code, and on the right is how the page we created looks like. The next thing we're going to do is style it using CSS code. You need to type the CSS code and you will see how it looks in the next image.

Within the CSS code, we set the width and height of sections, positions of sections, margins, spaces, font, colors. Then the display of icons, ie images, was set, the shape of the image was set with help clip-path options. On the website bennettfeely you can make any image shape you want and you will automatically get the code for that shape. You just copy and paste it into your CSS code, under the clip-path option. As for example in the next picture you can see.

In order for the CSS code to work properly on your page, you need to link it to the HTML code. This is set up by importing it into your HTML code. You can see the final HTML code in the following image.

Once you've set up both the HTML and CSS code, typed everything you wanted, styled your sections, text, images and more, if you've followed our codes, you'll end up with a website like the one in the following images.


